SketchUp
During recession 3D skills and affordable tools are on architects' radar
With 41 million users globally, SketchUp has proven to be one of the most accessible 3D modeling tools on the market.
Here, we will talk about what you can do, as a 3ds Max user, to make SketchUp more suitable for your needs and the workflow you are used to.
Good question, my friend. And it is one asked often, even not always verbally, but we see it in the eyes of many faced with the challenge of switching from 3ds Max to SketchUp. There are many reasons for this switch. However, let’s focus on today’s discussion.
Here, we will talk about what you can do, as a 3ds Max user, to make SketchUp more suitable for your needs and the workflow you are used to.
Many 3d artists and visualizers with previous experience in other software come to SketchUp skeptical and unwilling to adapt. Although a misguided assumption, there is a serious belief in the industry that SketchUp is not as powerful or as versatile as 3ds Max for architectural visualization. Although in some cases this is the truth, many projects and visualizations can be done with ease and sleight of hand in SketchUp, sometimes even faster than the original platform used. Don’t get me wrong, everybody has his own way of working and there is nothing wrong if the results are good quality ones. But in 3D, like in real life, sometimes we are faced with a new platform and we should do the best we can with what we have.
I also come from 3ds Max. I get your point, I understand you. That’s why I’ll present a few ideas and workflow tips on how to use SketchUp to its best ability from the perspective of a native 3ds Max user. And let me put a disclaimer here – all software is good if it gets the job done. These are personal tips that I came across from years of mixed pipelines, various artists and different projects happening on diverse platforms.
Forget about poly flow. Or at least the way you are used to it. In the website Quora John Bacus (https://www.linkedin.com/in/jbacus/), one of the people behind the design of SketchUp, he describes the software’s modeling as “a polygon mesh modeler, using a winged-edge data model”. So there is the concept for a polygon in SketchUp, but it is definitely not the one you are used to as a 3ds Max user. There are no vertices and there is no need to add a couple of edges to extrude something. It is okay to just extrude. Really. It is.
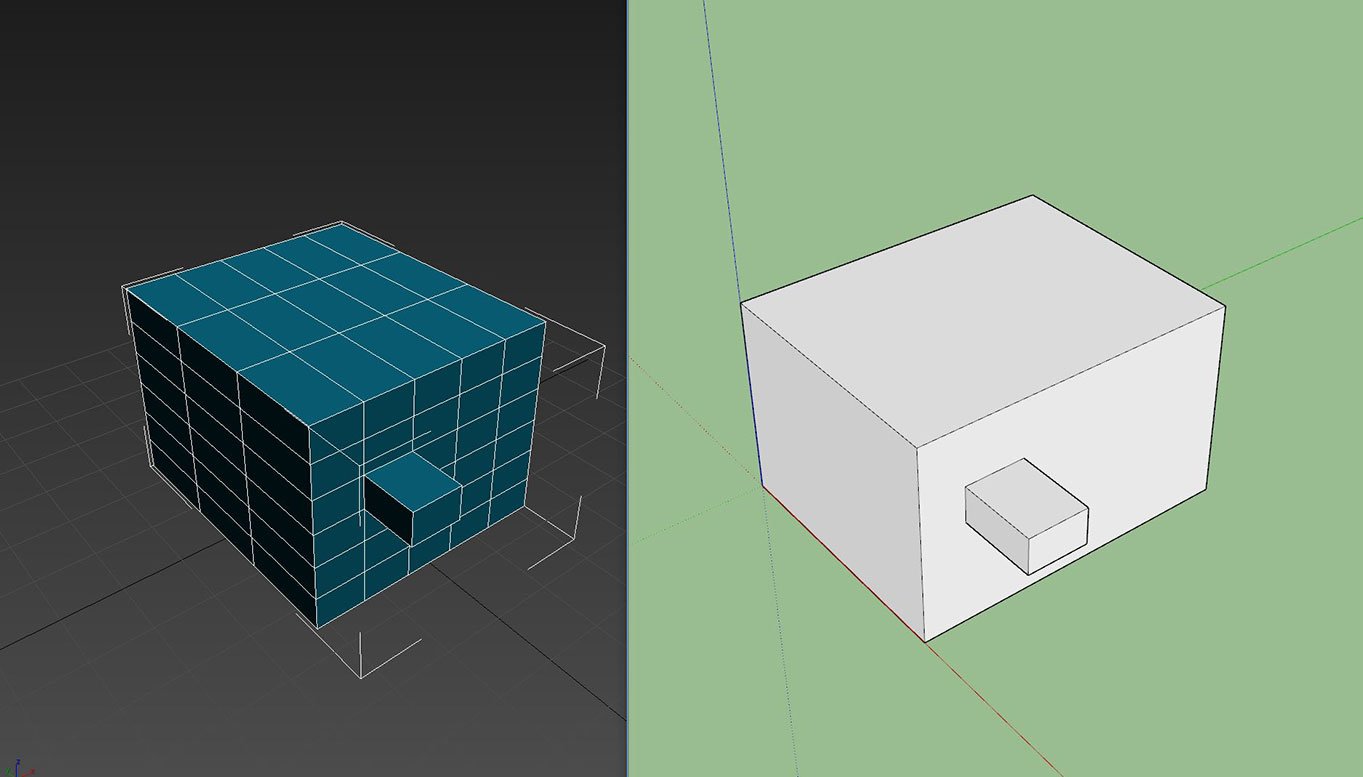
Second. A sphere is not a base SketchUp model. In fact, it is in a way complex next level model that you need to work for. Don’t go looking for it. The closer you will get to a sphere with a few clicks is a cylinder. Get over it. There are ways to do a sphere, so life will not be sphereless.
Now, it is time to dive into SketchUp and see what we are presented with.
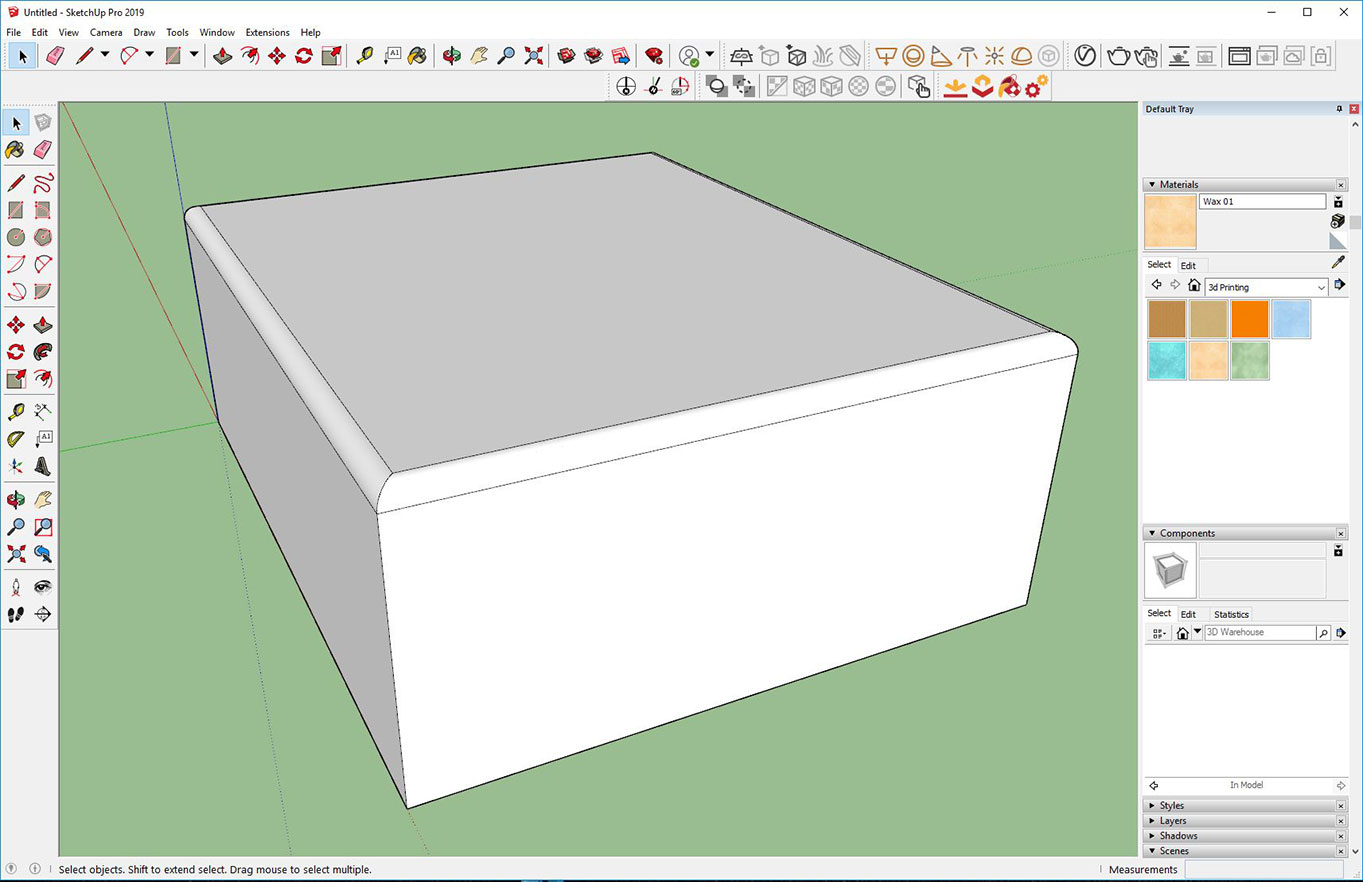
No matter the scale you chose, there will always be a character greeting you in the viewport. That is a Trimble inside joke and it is always somebody who works in the company. It’s a funny joke, and I’m sure that the person is flattered but after some time this puppet can become more annoying than anything. Especially if you plan on rendering at some point and are using V-Ray for that, the colors of the puppet will be read as V-Ray Materials filling your Asset editor with more unneeded info. This is because Marc (SketchUp 2019) is a component and a component is quite a big deal in SketchUp. I’ll go over that in a moment, but for now, I suggest you save a preset where this component is just missing.
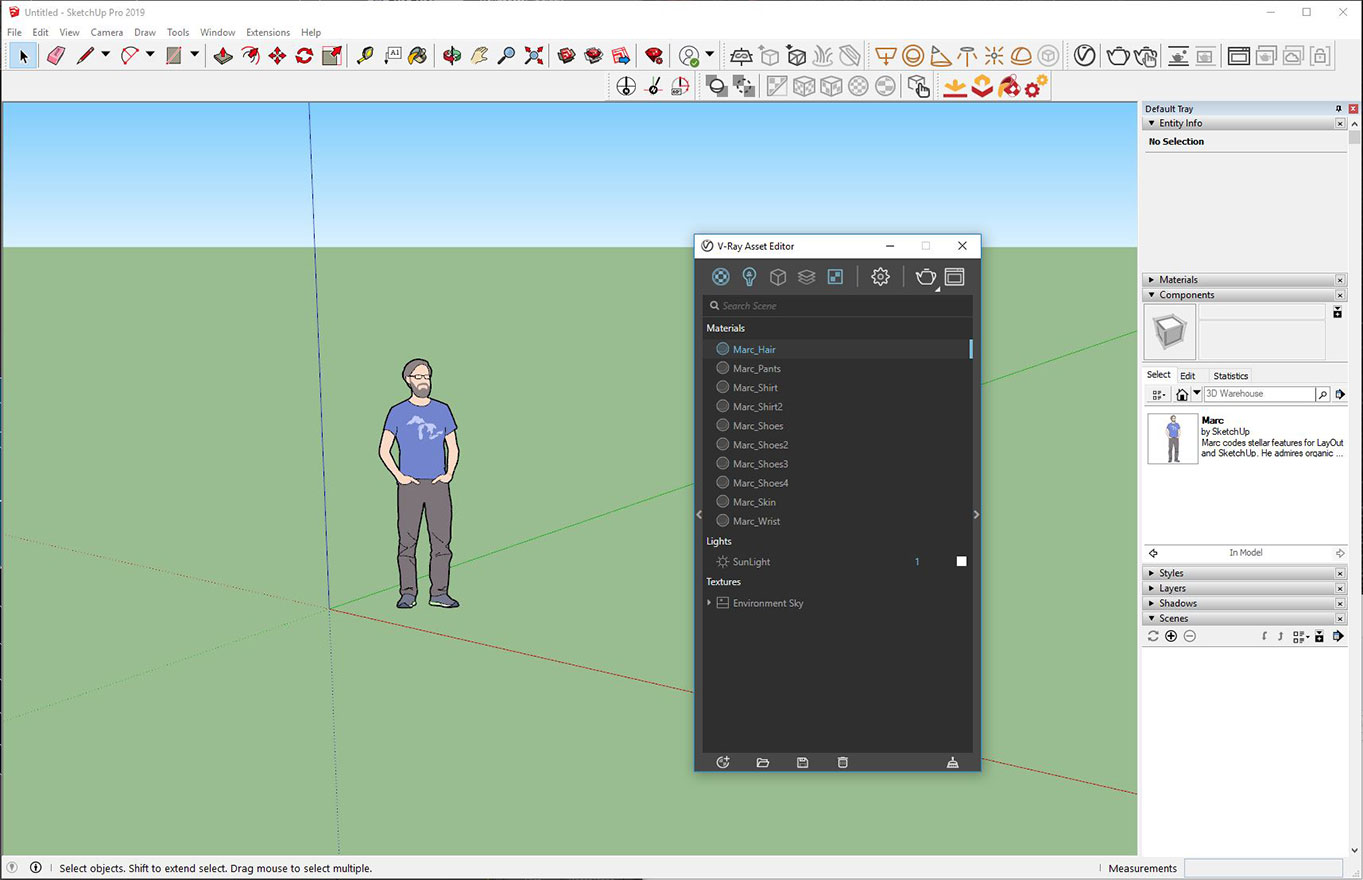

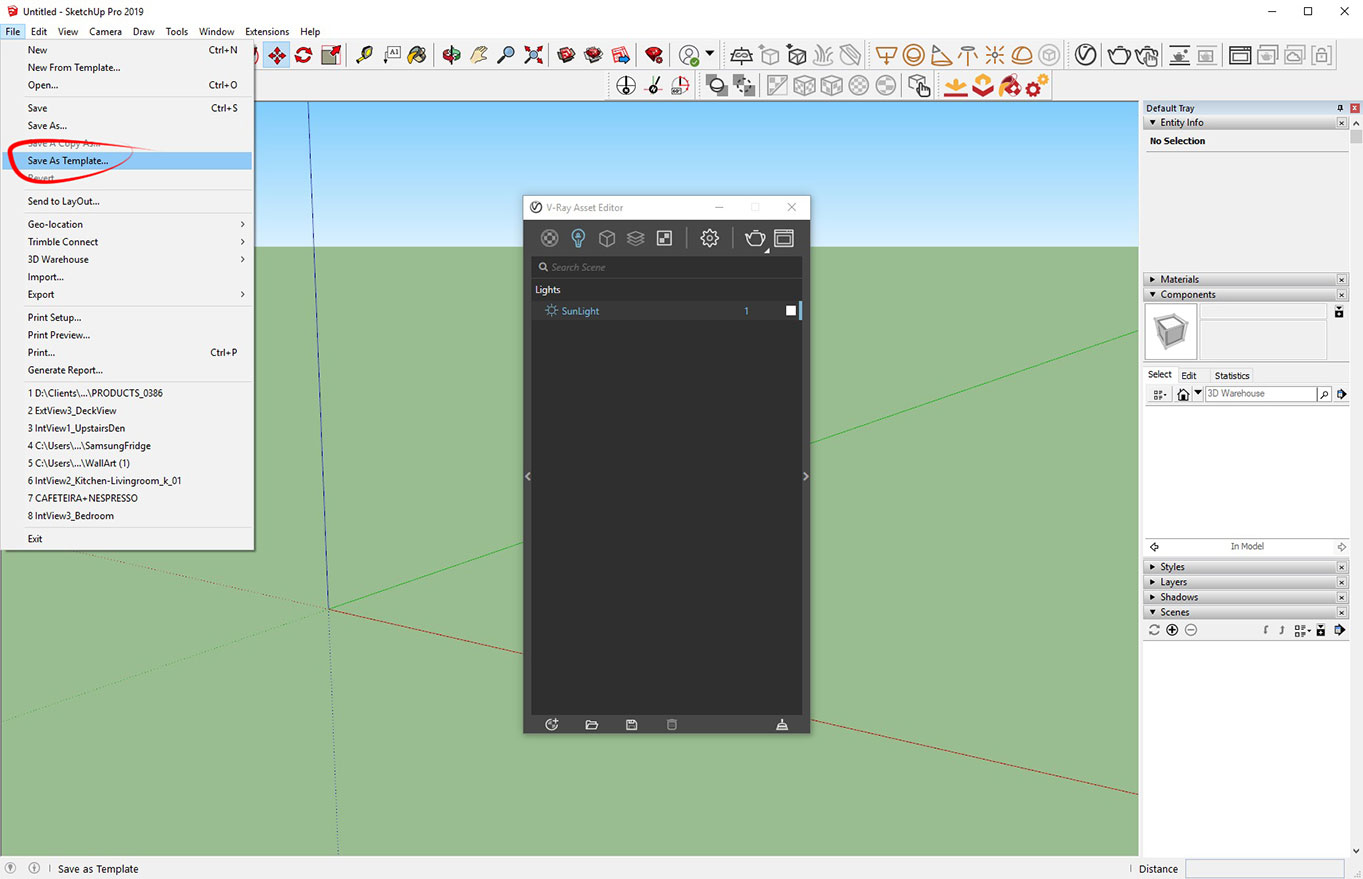
And now when you open your preset it will be nice and clean. Sorry, Marc and everybody who came before and after you, it is not personal. We appreciate your presence anyway!
Next comes next.
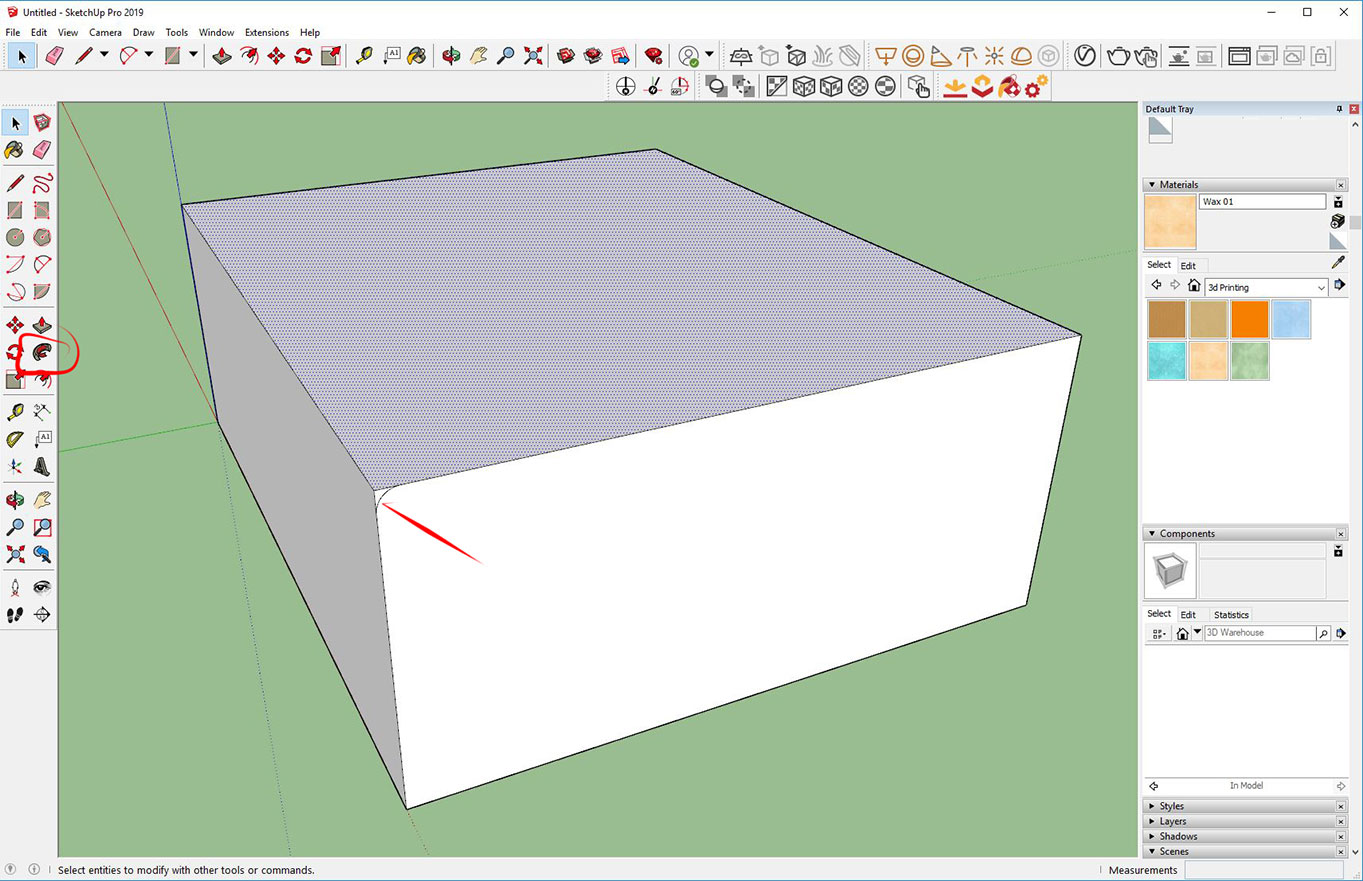
Groups and components are part of the founding fathers of SketchUp. Without using them, the chances are you’ll end up in deep dark forest far away or worst – will have a really hard time editing anything that you have modeled. Since most pieces of geometry become one just by touching in SketchUp, by adding groups you put some boundaries between them. In other words – group every piece of geometry that you consider a whole element. Then come components. Imagine them as… instances may be. They are geometry groups which are linked together and if you change one you change all of them. Although, they cal also store materials, be written on the hard drive and easily imported in any new scene you have. I recommend these videos for understanding a bit more:
https://www.youtube.com/watch?v=8OuYsofGFQE
https://www.youtube.com/watch?v=rOSRDBMC8rg
Layers work pretty similarly to any software with layers, with the only set back being that if you want to move something to a layer you have to individually place it in it. The Outliner is quite an advantage for the newer versions of SketchUp as it resembles even Autodesk Maya’s Outliner. Or, said in 3ds Max terms – the Scene Explorer. This is basic geometry management in your new best friend.
You have the basics. Now, fill up with patience and let’s explore a few major tips that will save your nervous system from any unnecessary damage.
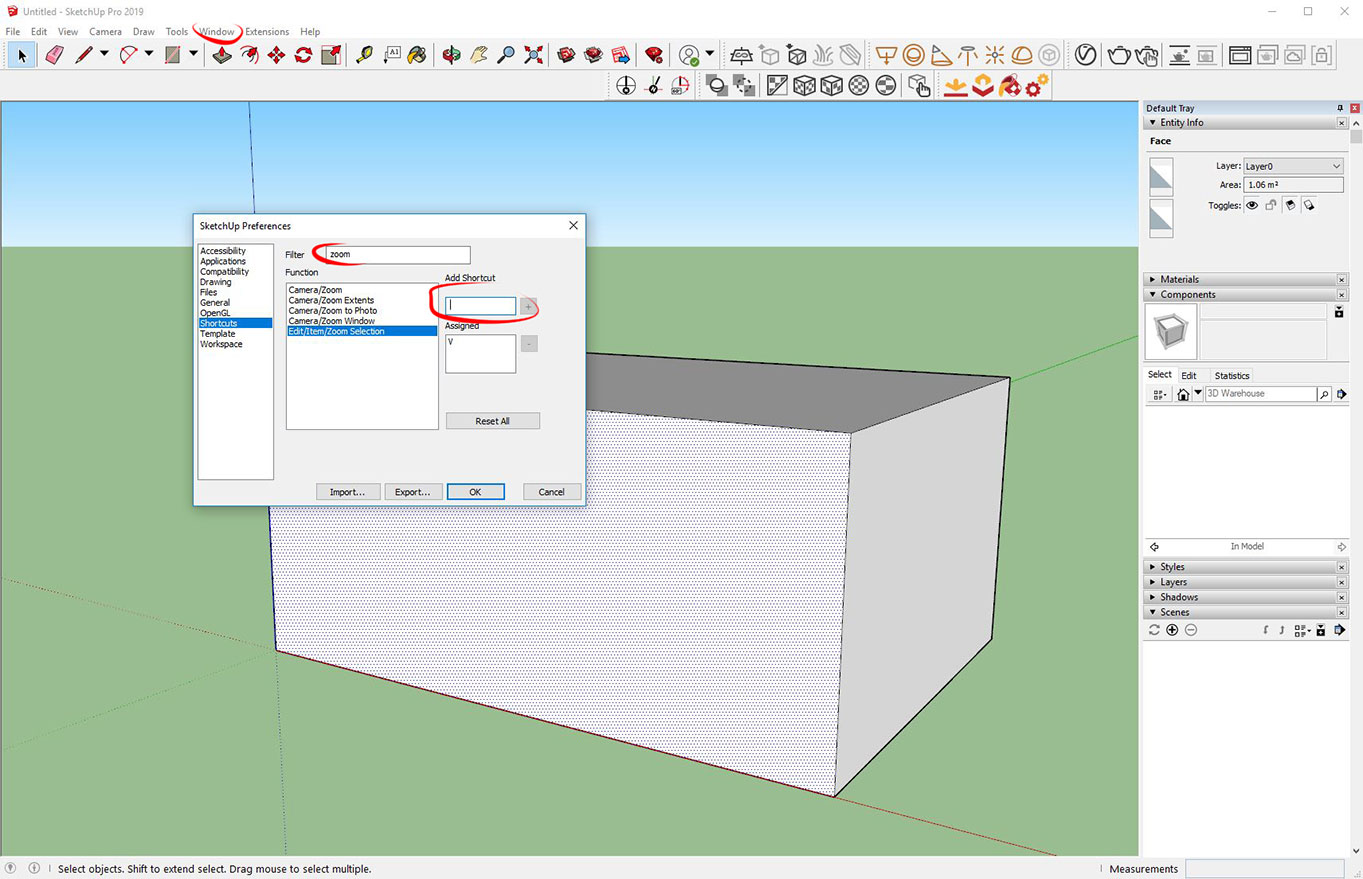
A major one that most SketchUp users miss and it is quite native to 3ds Max is zoom to selection. There is a right mouse click menu option, but since 3ds Max offers the “z” key for that, it is a great idea to add it to SketchUp as well. You can add a shortcut from Window / Preferences / Shortcuts, but in order to have the option to add a Zoom to selection one, be sure to have something in the scene clicked on. Otherwise, it will not show as a possible shortcut function.
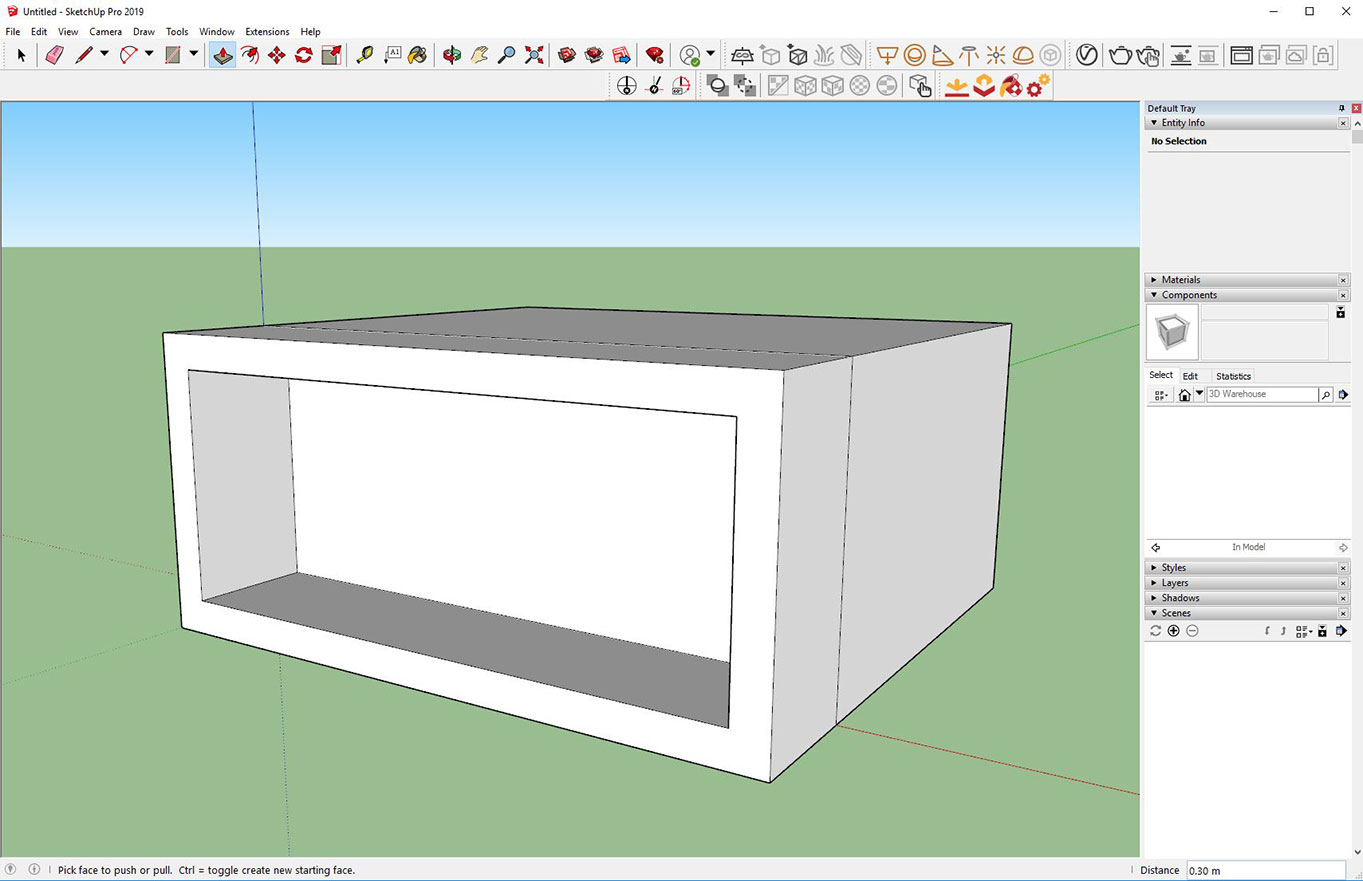
Another useful one is the fact that if you extrude a face inside SketchUp (shortcut is P) it will NOT create an additional edge. If you want that edge (as we said in the beginning, it is not necessary for SketchUp) you just need to press Ctrl while extruding and you get your edge.
And hey, you’ve noticed – there is no gizmo. No pivot you might call it. The main issue with that is how hard it can be to move only in a specific axis. This is achieved by a shortcut as well. After selection the object (group, face, edge, etc – works for anything) and starting to move it (shortcut is M) just press the arrow on your keyboard. Up is for the blue axis, Left is green and Right is red. Then, you are moving only in that direction.
This also works when adding a loop on an already created piece of geometry, although that might be a bit more complex as there is no Swift Loop option. You need to select only the edges of the end face and move and copy them on the inside. This will create the extra loop in a way.
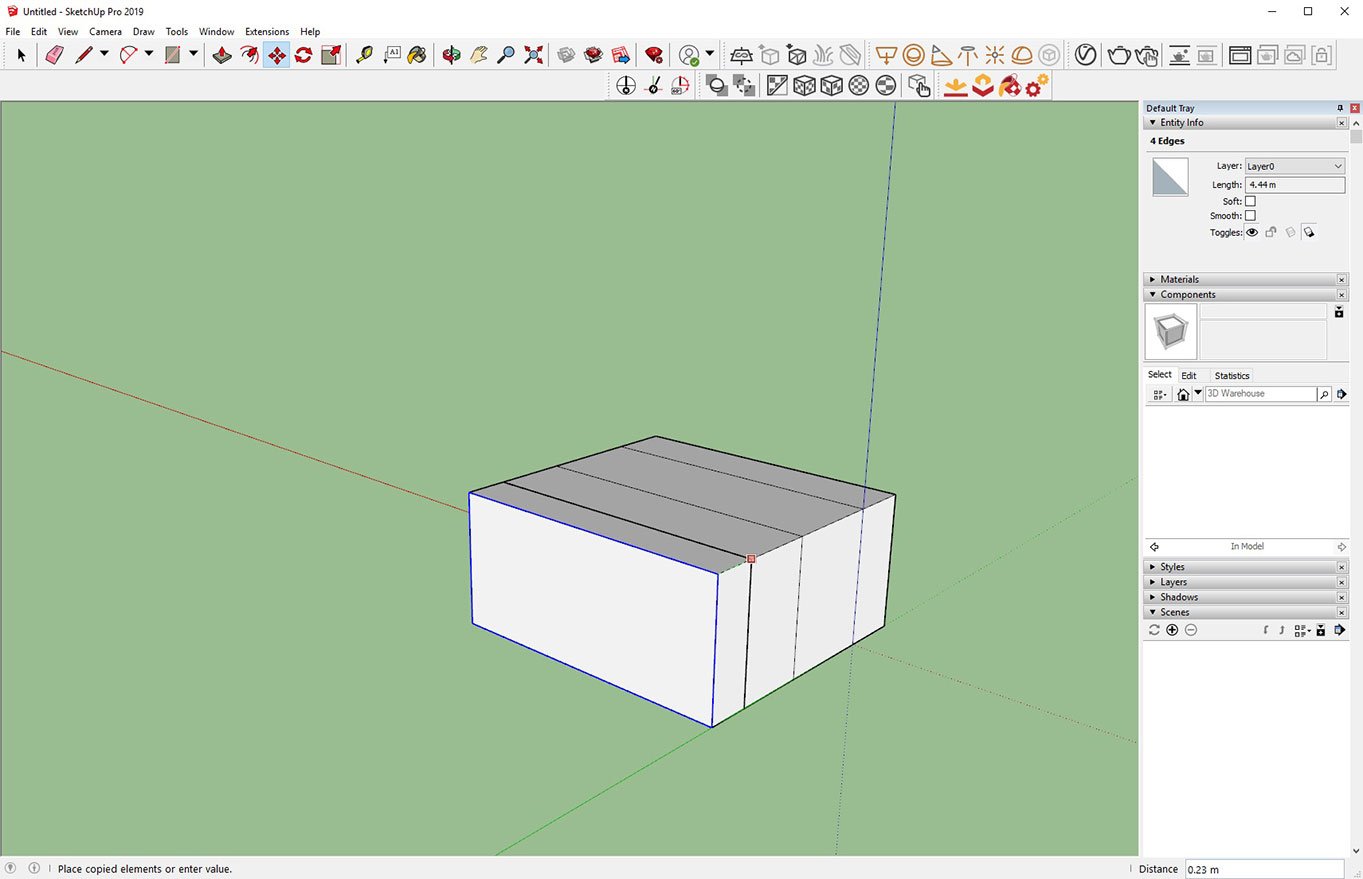
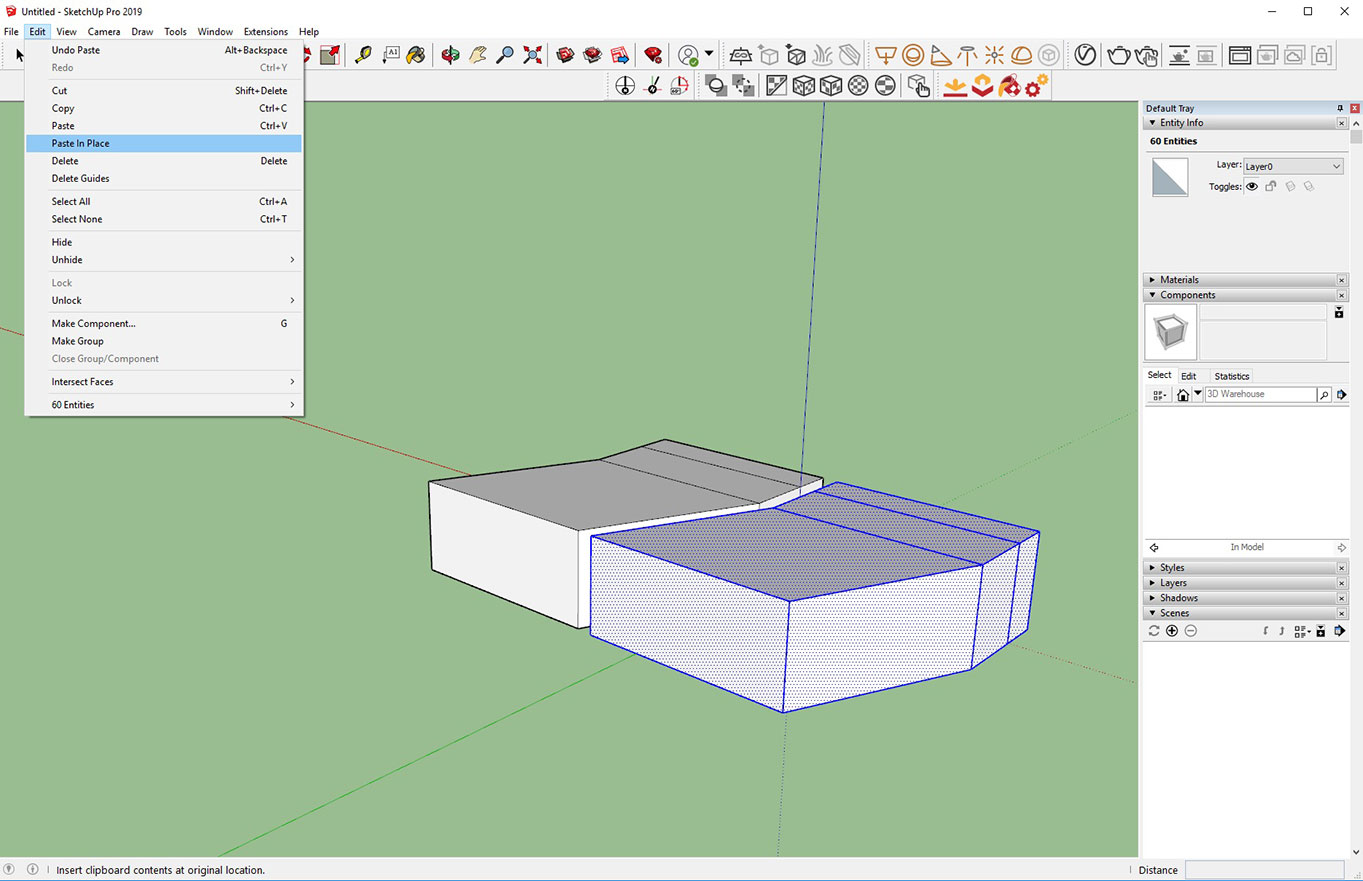
And speaking of moving and copying, nope, it is not Drag + Shift. It is Move + Ctrl. Of course, Ctrl + c; Ctrl + V work, and there is also the lovely option (which I hear AutoCAD users are familiar with) called Paste in Place. The best news here: works between different opened SketchUps as well.
And if you want to bevel an edge, just use Follow me…
After we have set our shortcuts, one of SketchUp’s major capabilities is the Extensions Warehouse. Imagine it as all plugins available for SketchUp situated in one place, available from the native interface. And even better – many of them are free. Thanks to those extensions SketchUp can really live to a great potential. Without extensions… well, I have tried it, and I would say I don’t recommend this approach. And again, many are free and work really well.
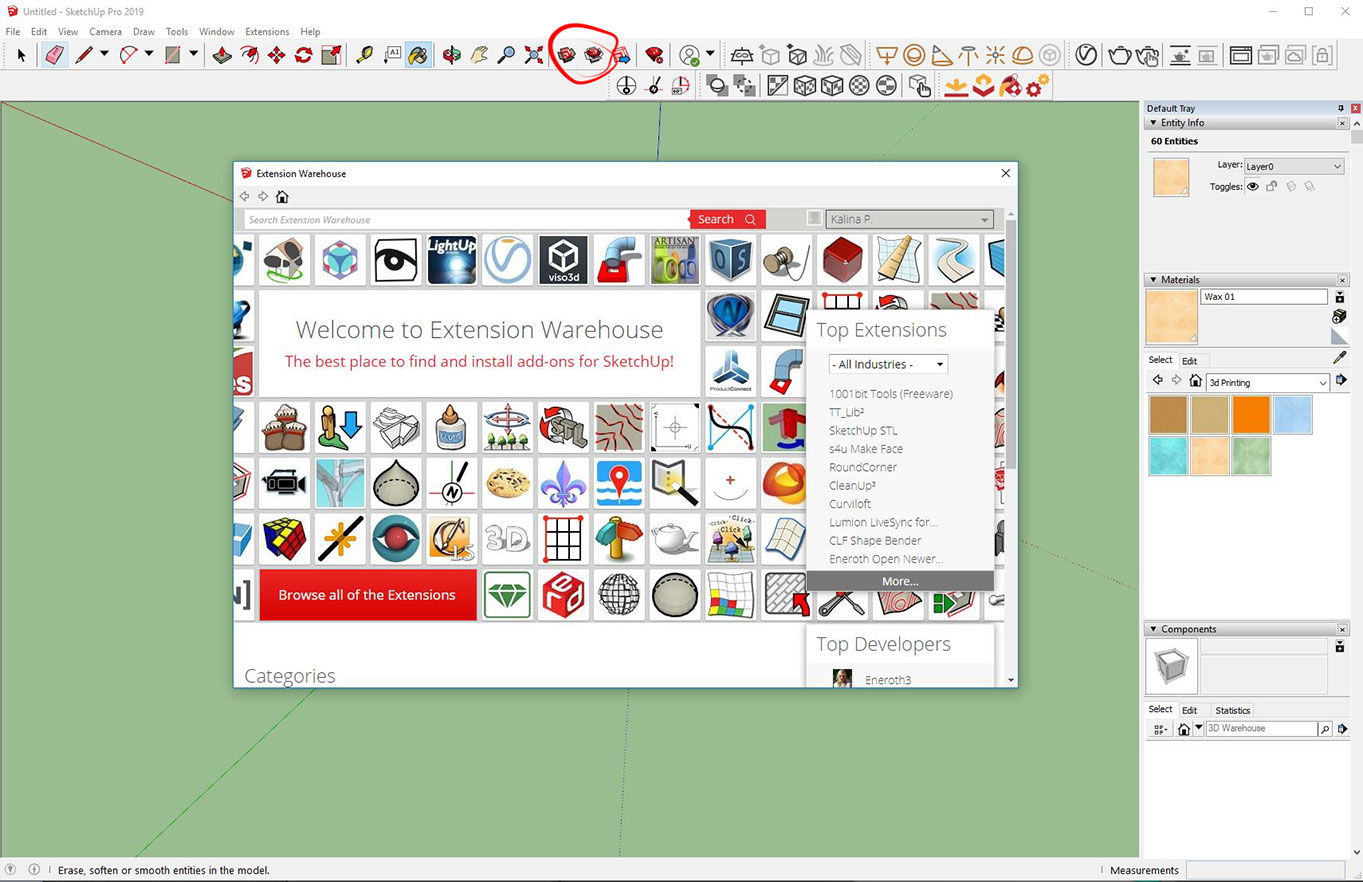
A few notable ones for dear old 3ds Max users:
Select’n’Isolate – https://extensions.sketchup.com/en/content/select-n-isolate – 3ds Max equivalent: Alt + Q, or Isolate selection
SUbD – https://extensions.sketchup.com/pl/content/subd – 3ds Max equivalent: Turbo Smooth Skimp – https://extensions.sketchup.com/en/content/skimp – Importing any universal 3d geometry like obj and fbx
There are many additional ones we can talk about and in the future, but let’s not get overwhelmed. I encourage you to go and browse yourself. And if you find some interesting, feel free to share in the comments!
And… the cherry on top.
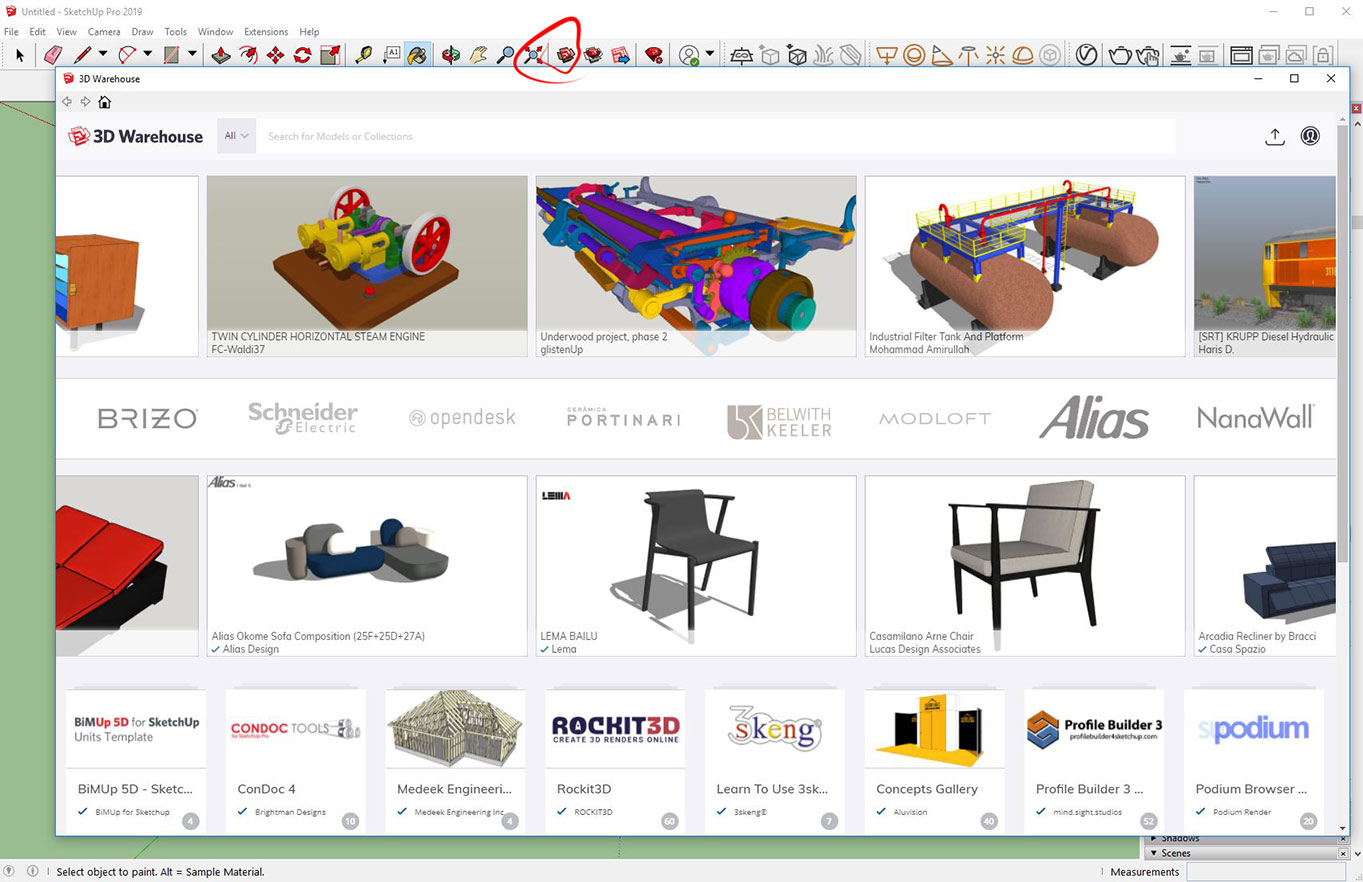
SketchUp has a library of many many models. It’s a part of the interface. Moreover, totally free.
The library is called 3D Warehouse and it is your new best best best friend. Have in mind that some 3ds Max users, even presented with wonderful sites like Evermotion and Turbo Squid still download models from the SketchUp Warehouse because it is convenient. So, enjoy. Here are the basics:
https://www.youtube.com/watch?v=voI8Ex4GVg4
From then on, you should arm yourself with a lot of patience and most importantly – be positive and inspired to try new stuff. SketchUp is a very powerful software bringing 3D to many different people. It is great for beginners but can speed up and ease the workflow of seasoned professionals as well. It can be fun, very productive and especially easy for making corrections and managing different stages of a model.
So, it is awesome. Have fun.
 |
 |
 |
Author: Kalina Panteleeva
With 41 million users globally, SketchUp has proven to be one of the most accessible 3D modeling tools on the market.
Access millions of free models using 3D Warehouse. Instantly add entourage and context to your project with free models from the world’s largest 3D...
The best way to 3D for free. Your free 3D modeling software. Make anything you can imagine, without downloading a thing.