Pitching for a new project is one of the most exciting parts of the design process. Creativity needs to flow but deadlines are around the corner. You want to get ideas out of your head quickly and turn them into winning results that will wow your client, boss or team.
In Part 1 of this series, we’ll teach you how to start from scratch and create design options with ease. In Part 2, you’ll learn how to showcase those designs in their best light, leaving your audience mesmerized. The examples used are interior design focused but don’t worry, these concepts can be applied to almost any industry!
Get started with a 2D sketch, floorplan or your project ideas with SketchUp Pro
There are a few different ways to bring your project into SketchUp right from the start. Don’t be afraid to use what you have depending on the project, whether a sketch, photograph (check out how to use Match Photo) or a 2D plan:
1. Working from a hand-drawn sketch? Import the hand drawing as an image and start tracing with the Line tool to create a floorplan. This is an easy (and thus popular) way to bring a floorplan into SketchUp.
2. Have a set of plans? Import a floor plan in CAD, image or PDF. Draw the outline of your project by scaling and drawing from the plan as a reference.
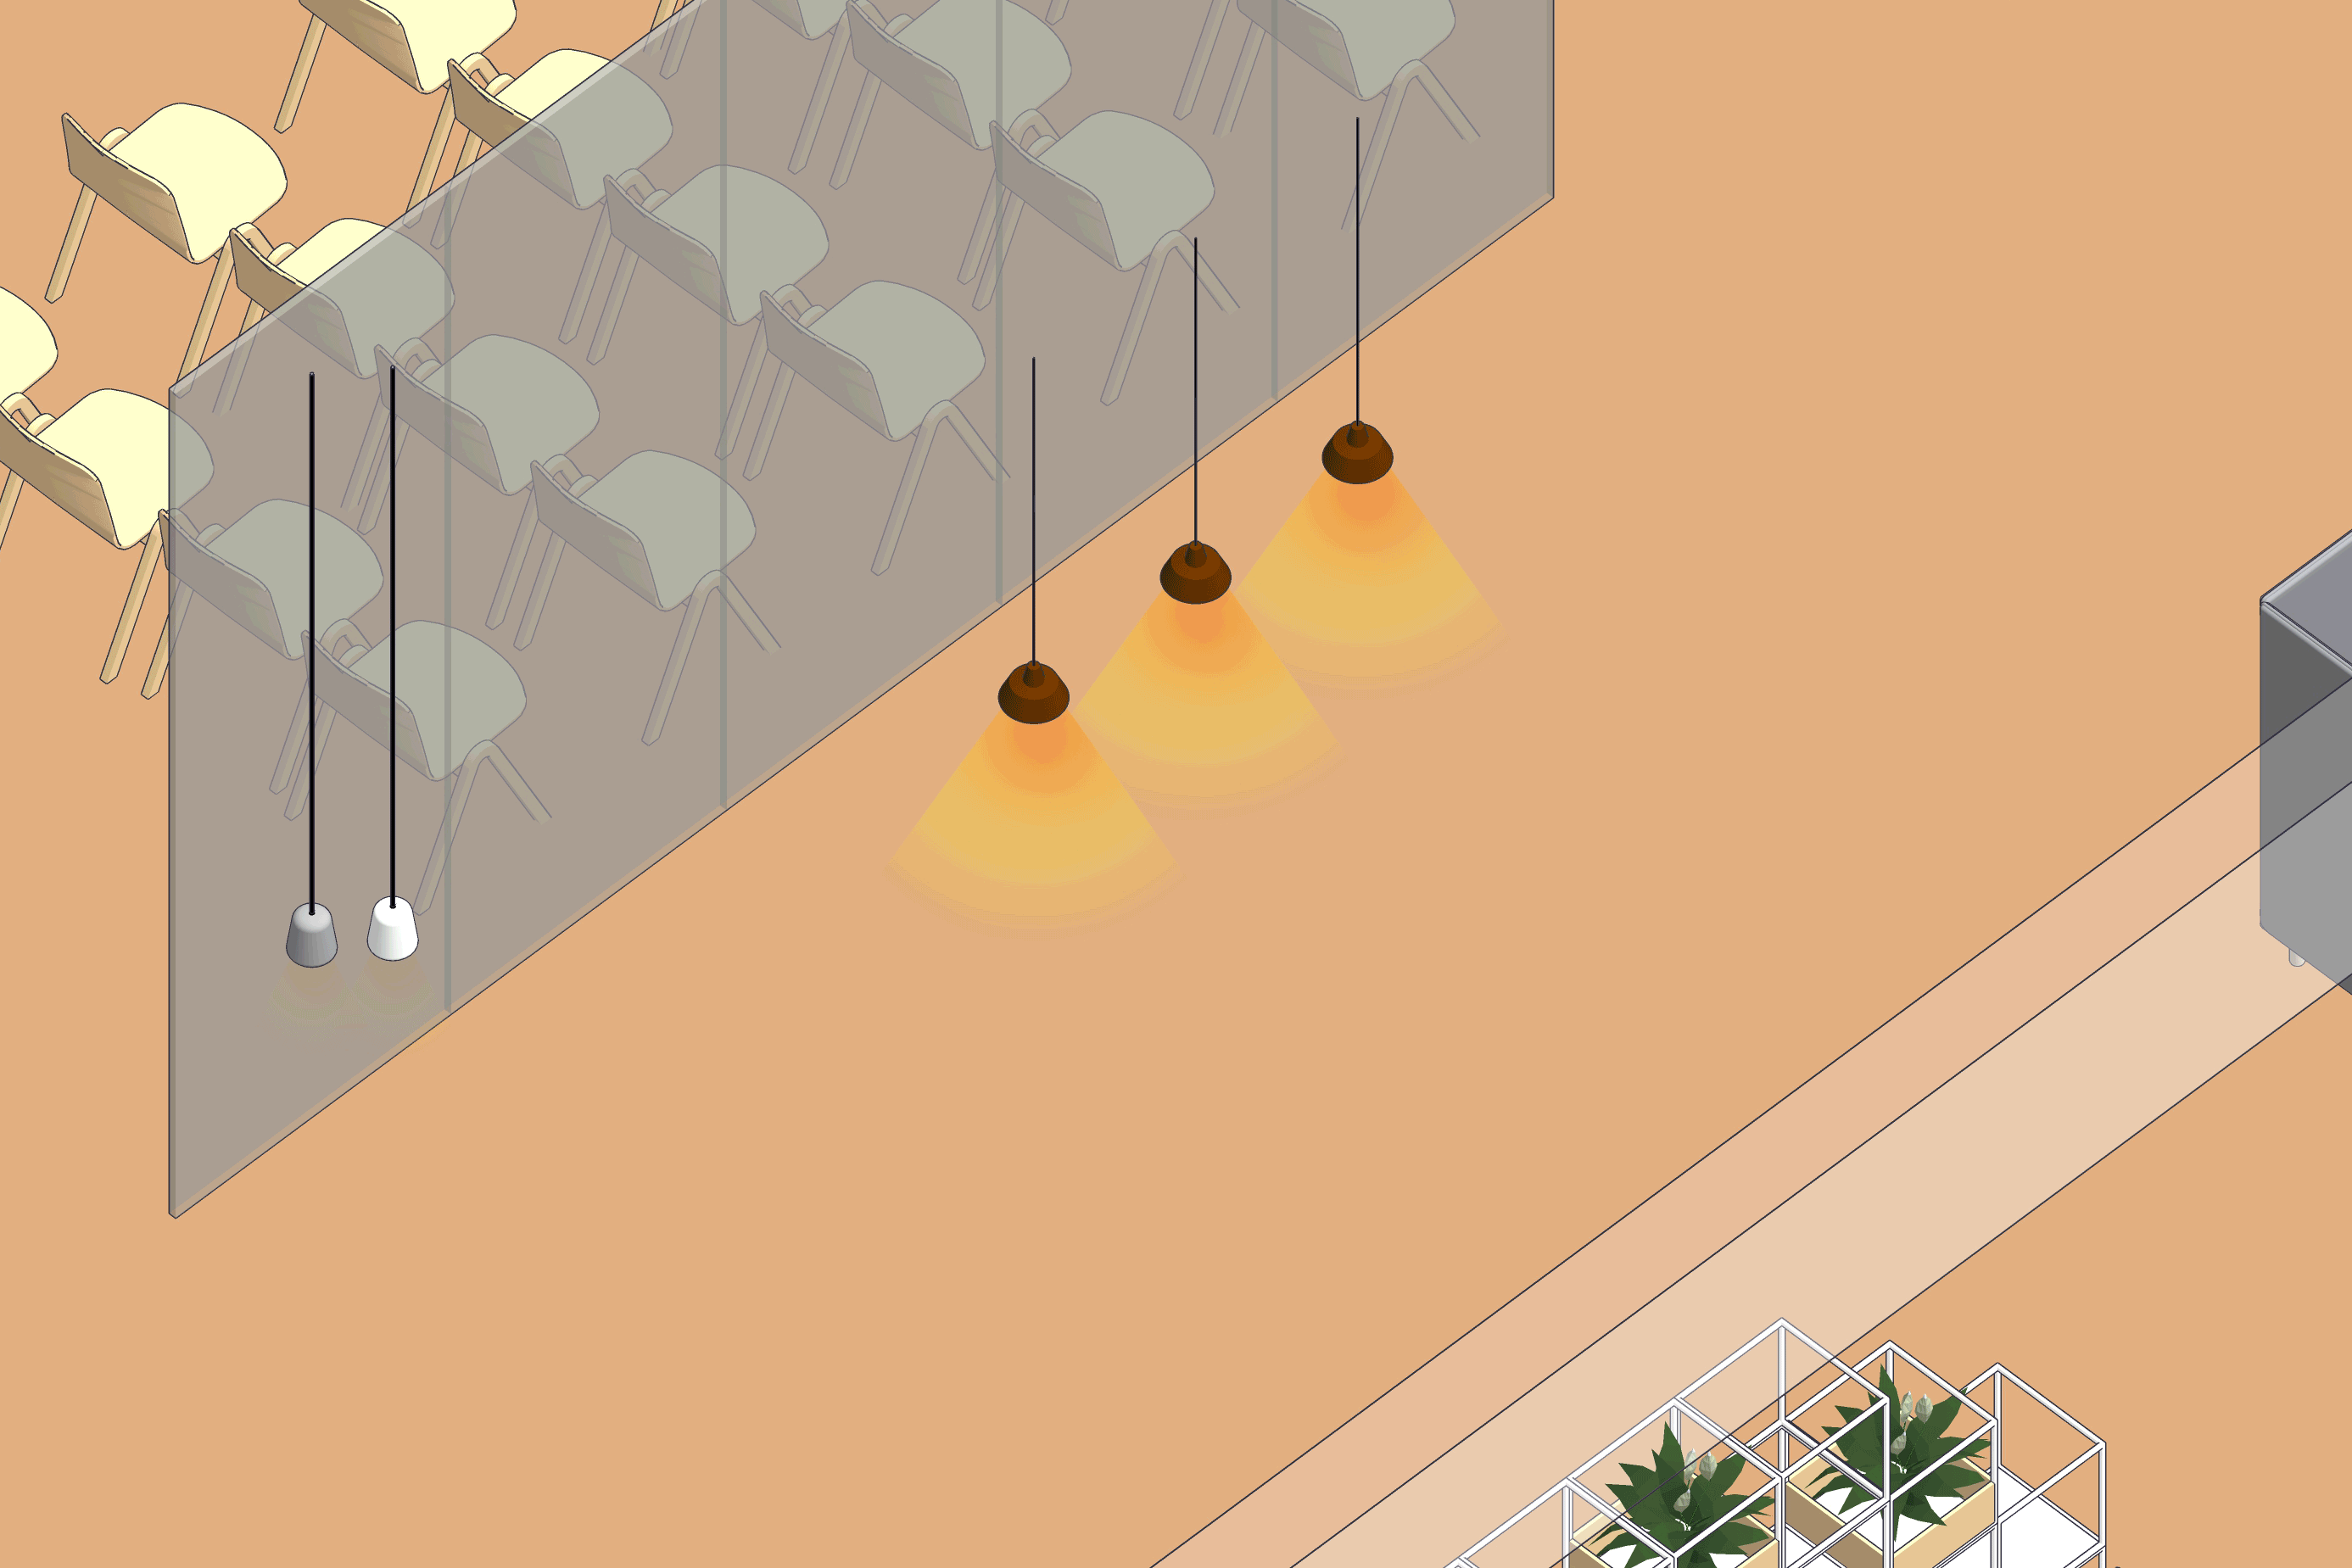
It’s time to bring your space to life. Apply colors and textures with materials to add detail and realism to your models. Visualize your Sketchup design ideas fast by importing real products from 3D Warehouse.
SketchUp lets you quickly work through configurations and build upon the ones you like. Show off options for furnishings or add in various types of greenery to brighten the space and give your design some personality.
The key to showcasing and organizing design options for your projects in SketchUp is use of Layers and Scenes. Layers help you organize your model, and Scenes help you present designs easily by adjusting layers, objects, styles and more!
Save your project to Trimble Connect
Now that you have your design options in hand, it’s time to save your project to the cloud. Trimble Connect offers you unlimited cloud storage with full version control. The best part? It’s included in a SketchUp Pro subscription.
Part of a design team?
Working together just got a little easier with Trimble Connect. Let’s say you’re working on the interior design at the same time another team member is working on the MEP design.
You can import a reference model into SketchUp from Trimble Connect. You won’t be able to modify the model, but you can use it as context to more easily coordinate the project. This is useful when you have a team of designers working on different areas.
Invite other people to your project, create groups with different permissions to control which files members can access. You can also utilize version control to track project history and progress.
Flying solo?
Each time you upload a copy of your design file, Trimble Connect will keep track of the versions. Use version control to manage different iterations of your model and share those as design options with your client. Assign to-dos and quickly work through client feedback, all within Trimble Connect.
This topic belongs to our SketchUp & Design Software Tutorials, where design tools are linked directly to client communication and project approval strategies.