Why this page exists
Design software evolves continuously, but version-based blog posts age quickly and fragment understanding.
This page consolidates the most important SketchUp, Twinmotion, and V-Ray updates from recent years into a single, structured overview — focused not on feature lists, but on how these changes affect real architectural and design workflows.
Instead of tracking updates across multiple articles, this guide helps you understand:
- what actually changed,
- why it matters,
- and how those changes influence modeling, visualization, documentation, and collaboration today.
In this guide
- Recent SketchUp releases and their practical impact
- Major workflow shifts between 2019 and today
- What’s coming next in collaborative design tools
- Twinmotion updates in a real-time visualization context
- V-Ray updates as historical rendering context
Recent SketchUp releases: practical impact, not just features
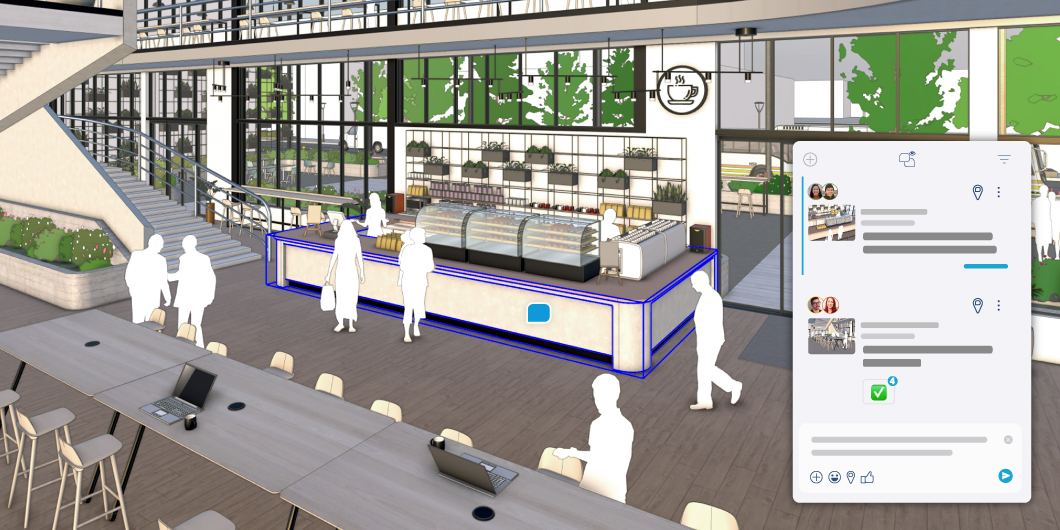
SketchUp 2026 — collaboration moves inside the model
The upcoming SketchUp release marks a clear shift from file-based coordination toward model-centered collaboration.
Design feedback is no longer external.
With in-app commenting, discussions attach directly to 3D geometry, allowing teams to leave threaded feedback, tag collaborators, and review design decisions in context instead of through emails or screenshots.
Real-time viewing introduces live collaboration, where participants can follow camera positions and see changes as they happen. This fundamentally changes design reviews, internal coordination, and client presentations.
A new view-based review mode allows designers to guide stakeholders through curated scenes without exposing unfinished areas of the model, reinforcing controlled communication rather than full access.
Together, these changes position SketchUp not just as a modeling tool, but as a shared decision-making environment.
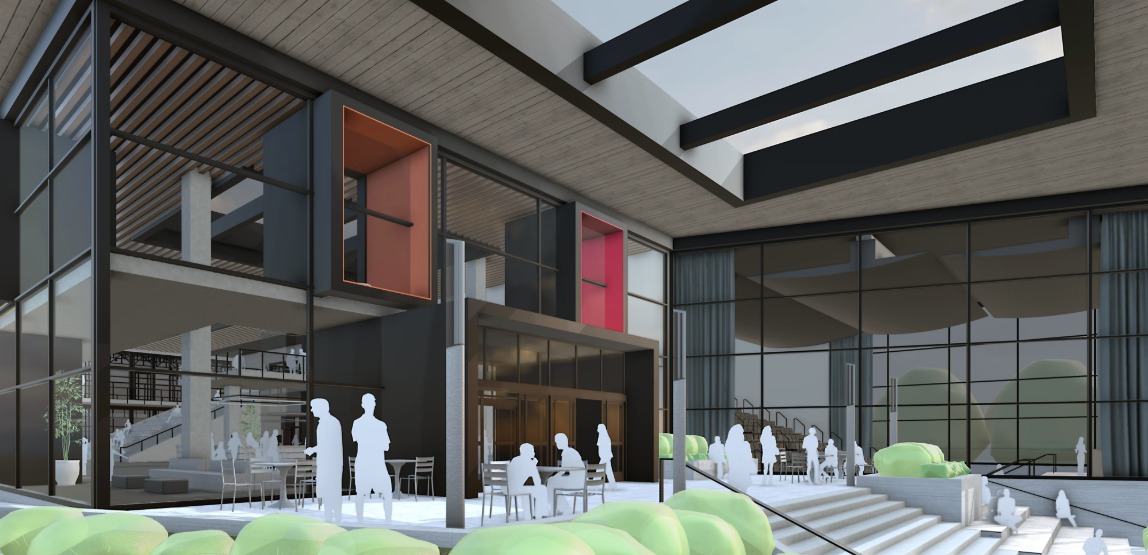
SketchUp 2025 — native visualization becomes a core workflow
The 2025 release brings rendering closer to the modeling stage instead of treating it as a separate discipline.
Photoreal Materials introduce layered textures with roughness, reflectivity, and depth, allowing materials to communicate intent clearly without exporting to external renderers.
Combined with Environments, which provide both lighting and background through HDR imagery, SketchUp becomes significantly more presentation-ready at early design stages.
IFC and Revit interoperability improvements strengthen SketchUp’s role in mixed-software environments, particularly for teams working between conceptual design and structured BIM platforms.
LayOut enhancements ensure that these visual improvements carry through to 2D documentation, reducing the disconnect between model and drawings.
Well-integrated materials and lighting directly inside the modeling environment reduce the need for early rendering detours and speed up client-facing iterations.
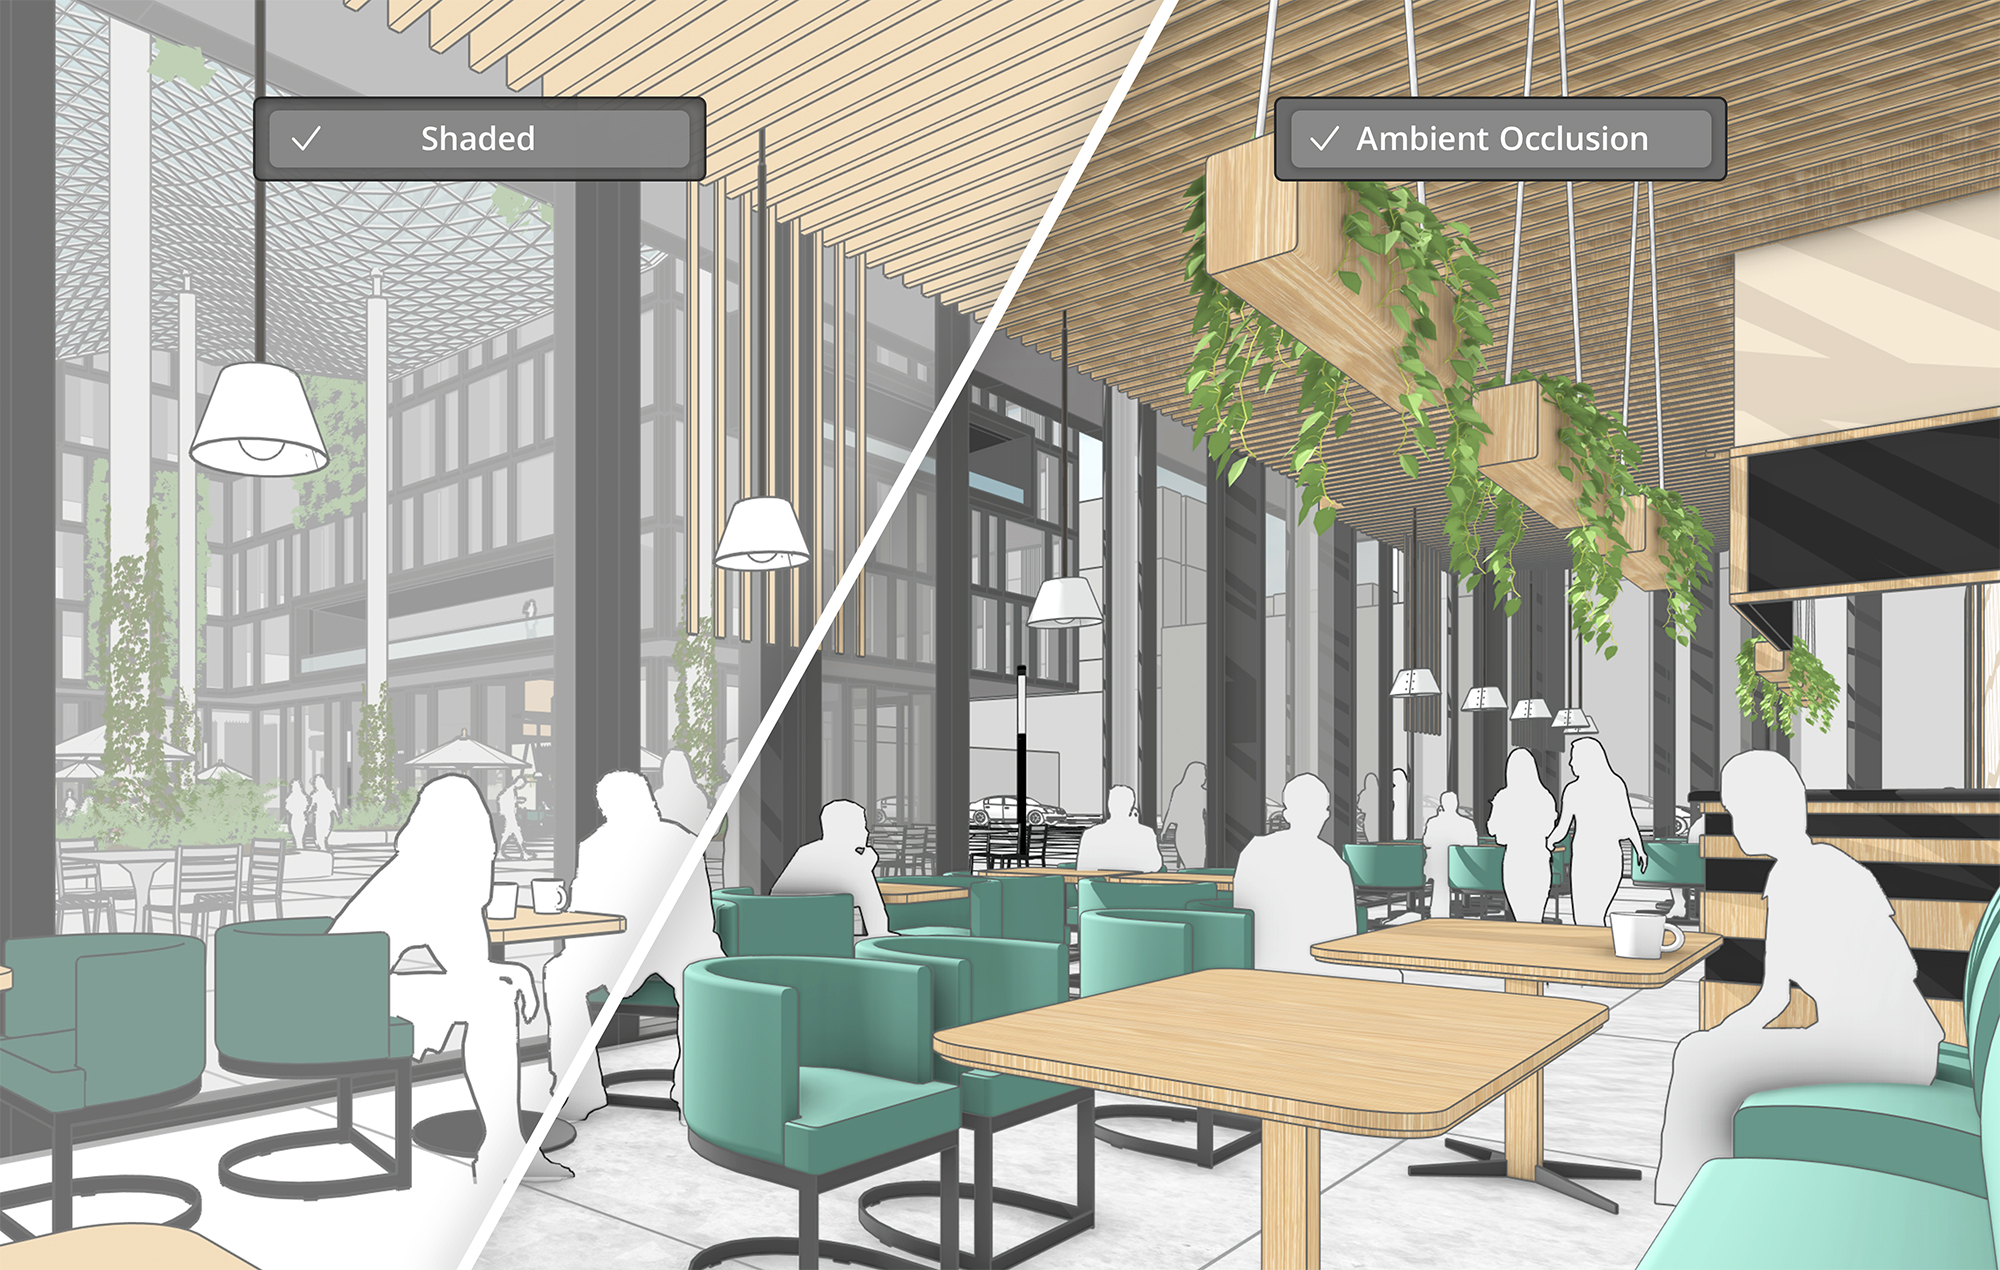
SketchUp 2024 — performance, depth, and scan-based workflows
SketchUp 2024 focuses on speed and spatial clarity.
Ambient Occlusion introduces visual depth at edges and intersections, improving the readability of massing and white models without additional rendering steps.
A new graphics engine significantly improves navigation performance, especially in complex models.
Scan-based workflows expand with Scan-to-Design, allowing designers to move from real-world conditions to structured geometry more quickly, particularly on iPad-driven workflows.
Interoperability improvements and refined location data further support site-based design decisions and early-stage planning.
Key workflow shifts since 2019
Looking across versions, several long-term patterns emerge:
- SketchUp moves steadily from isolated modeling toward connected workflows
- Visualization becomes increasingly native instead of outsourced
- Early-stage analysis and pre-design tools influence decisions sooner
- Documentation and presentation align more closely with the model itself
The transition from Layers to Tags, the introduction of Live Components, and the addition of PreDesign all reflect a move toward clarity, structure, and informed decision-making rather than raw geometry production.
Twinmotion updates: real-time visualization context
Twinmotion’s recent updates reinforce its role as a real-time visualization layer rather than a traditional renderer.
Recent versions introduce:
- real-time global illumination,
- animated asset support,
- improved material systems,
- and faster scene setup through templates.
These changes primarily benefit teams producing walkthroughs, animations, and experiential presentations, particularly when speed matters more than photorealistic perfection.
Twinmotion sits naturally alongside SketchUp as a visualization extension rather than a replacement.
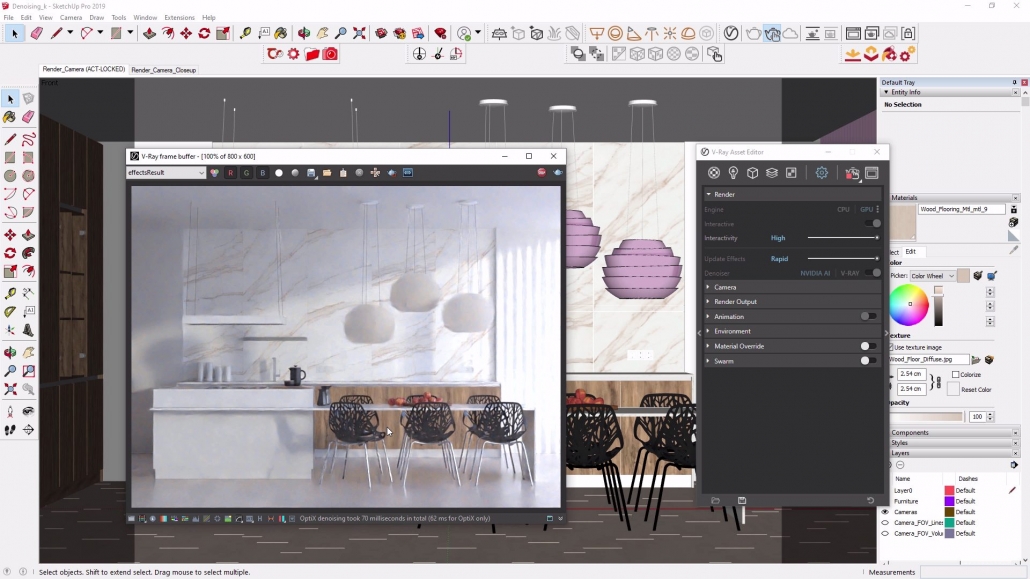
V-Ray updates: historical rendering context
V-Ray’s earlier updates introduced major milestones such as AI denoising, adaptive lighting, and GPU rendering.
While newer versions have since surpassed these features, understanding this progression explains why rendering workflows shifted toward faster iteration and hybrid GPU/CPU pipelines.
For most SketchUp users today, V-Ray represents a specialized visualization layer, not the default path for everyday design communication.
What this means for your workflow
Taken together, these updates show a clear direction:
- modeling, visualization, documentation, and collaboration are converging,
- design decisions happen earlier,
- and feedback loops are becoming shorter and more contextual.
Choosing tools is no longer just about features, but about how smoothly they integrate into a broader workflow.
Related resources
If you want to apply these updates in practice, explore:
Software updates and version changes are easier to evaluate when seen as part of an evolving ecosystem, consolidated in SketchUp & Design Software Guides.